Classical AI Model Management
This section provides a comprehensive guide to managing Classical AI models within our platform. You'll learn about their definition, creation process, version management, and testing procedures. The platform offers three distinct tabs for AI model management: Models, Gen AI, and API Service Configurations, with Models being the default view.
In the following sections, details about adding an AI model, AI model version, etc. will be given. As a shortcut, you can also watch the video guide
Understanding the Interface
When you first access the Classical AI Models page without any existing models, you'll see an empty dashboard as shown below:
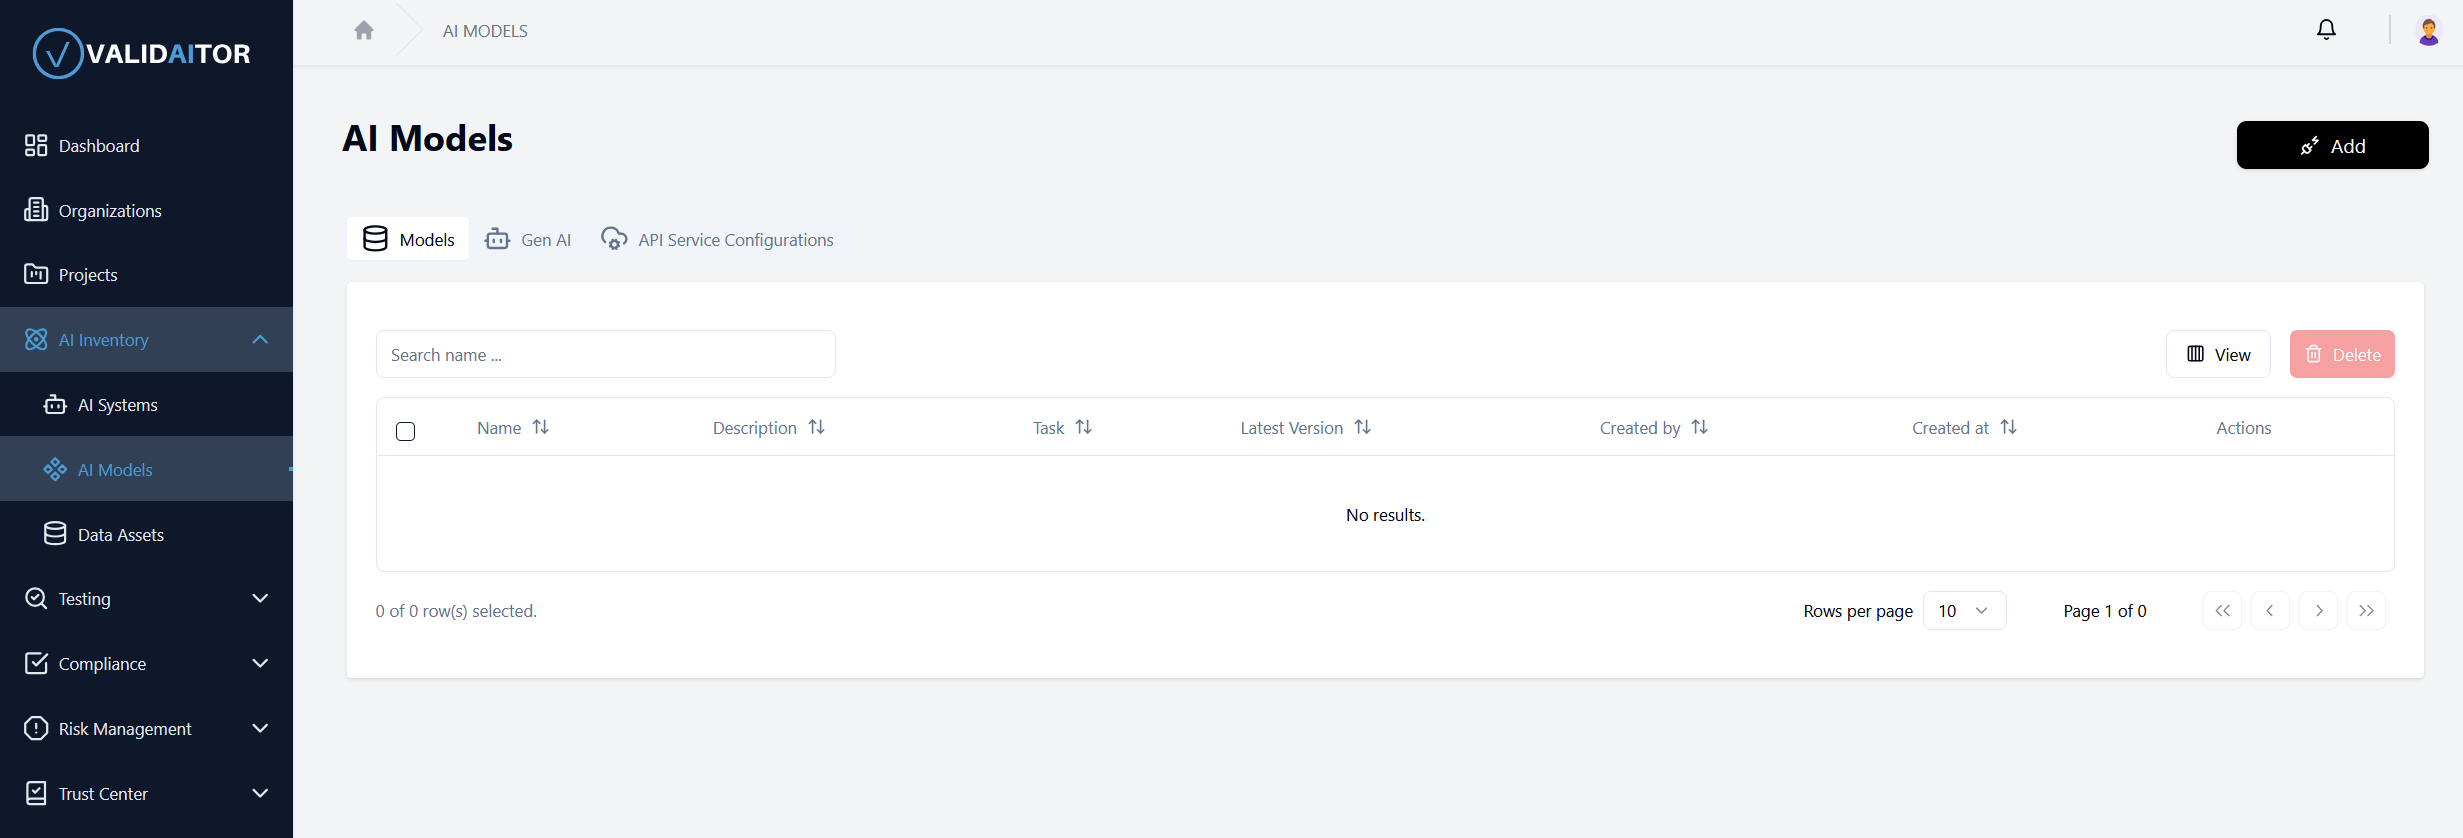
The interface is designed to provide a clear overview of all your AI models and facilitate easy management of their lifecycle.
Saving a model for testing
Before a model can be imported and used within the platform, it needs to be saved in an appropriate format. At the moment, the model export functionality of MLflow is supported. After a model has been successully trained, it can be exported by simply calling mlflow.<flavor>.log_model or mlflow.<flavor>.save_model. This will create a directory containing the serialized model together with all other necessary information regarding the dependencies. To give an example, a PyTorch-flavor model can be exported in the following way:
mlflow.pytorch.save_model(
   your_model,
   "save_dir",
    signature=mlflow.models.infer_signature(
        x_batch.cpu().numpy(),
        your_model(x_batch).detach().cpu().numpy()
    )
)
As it is further detailed in the MLFlow documentation, there might be problems arising with custom local Python modules. A straightforward possibility to save custom code in this context is the code_paths-argument:
mlflow.pytorch.save_model(
    your_model,
    "save_dir",
    code_paths=["custom_module_path"],
    signature=mlflow.models.infer_signature(
        x_batch.cpu().numpy(),
        your_model(x_batch).detach().cpu().numpy()
    )
)
Creating a New AI Model
To begin creating your first Classical AI model:
Locate and click the Add button positioned in the top-right corner of the page
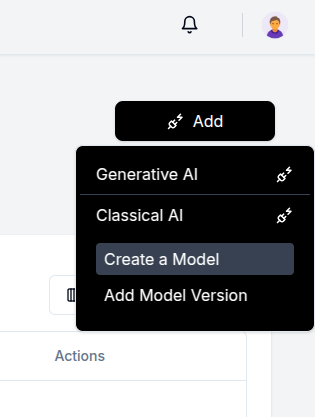
- A dropdown menu will appear with two main categories:
- Generative AI: For models that generate new content (text, images, etc.)
-
Classical AI: For traditional machine learning models (classification, regression, etc.)
-
Select Classical AI to reveal additional options
-
Click the Create a Model button from the expanded menu
-
Complete the model registration form with the required information
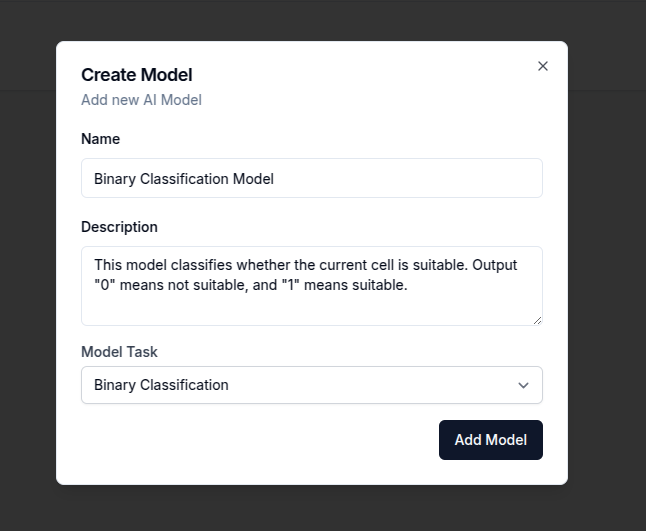
After filling out all necessary fields, click the Add Model button to register your new AI model
Once created, your model serves as a container that can hold multiple versions, allowing you to track the evolution of your AI solution over time.
Managing AI Models
After successfully creating an AI model, it will appear in the models table:
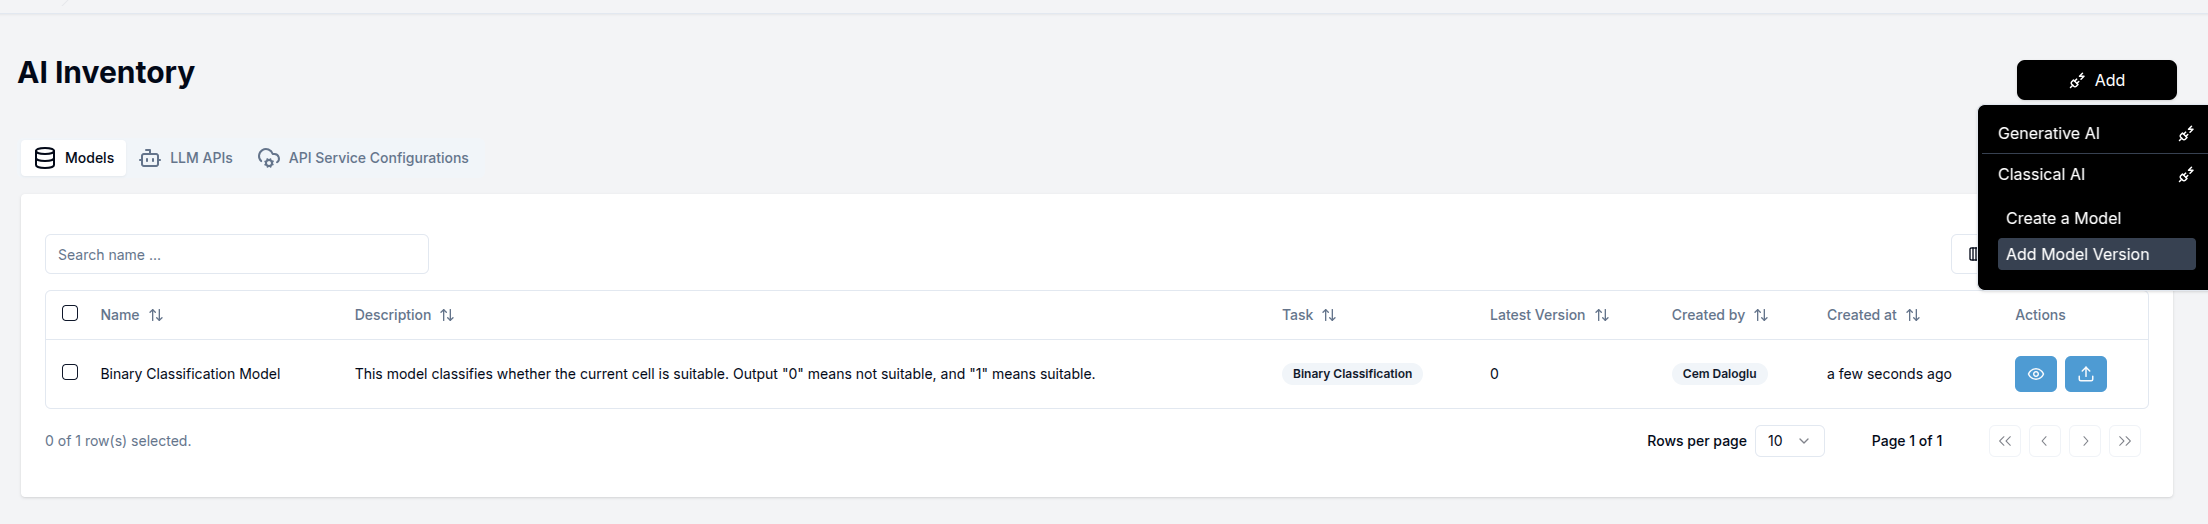
Each model entry in the table provides several interaction options:
- Eye icon: View detailed information about the AI model and its versions
- Upload icon: Add a new version to this specific AI model
- Additional actions: May include options to edit, delete, or configure the model (depending on your access permissions)
Adding AI Model Versions
To create and add a version to your AI model, you have two options:
- Click the Upload icon in the model's row in the table
- Select Add Model Version from the dropdown menu in the top-right corner
Both options will direct you to the version creation page.
Creating an AI Model Version
The AI model version creation page allows you to upload and configure a specific implementation of your AI model:
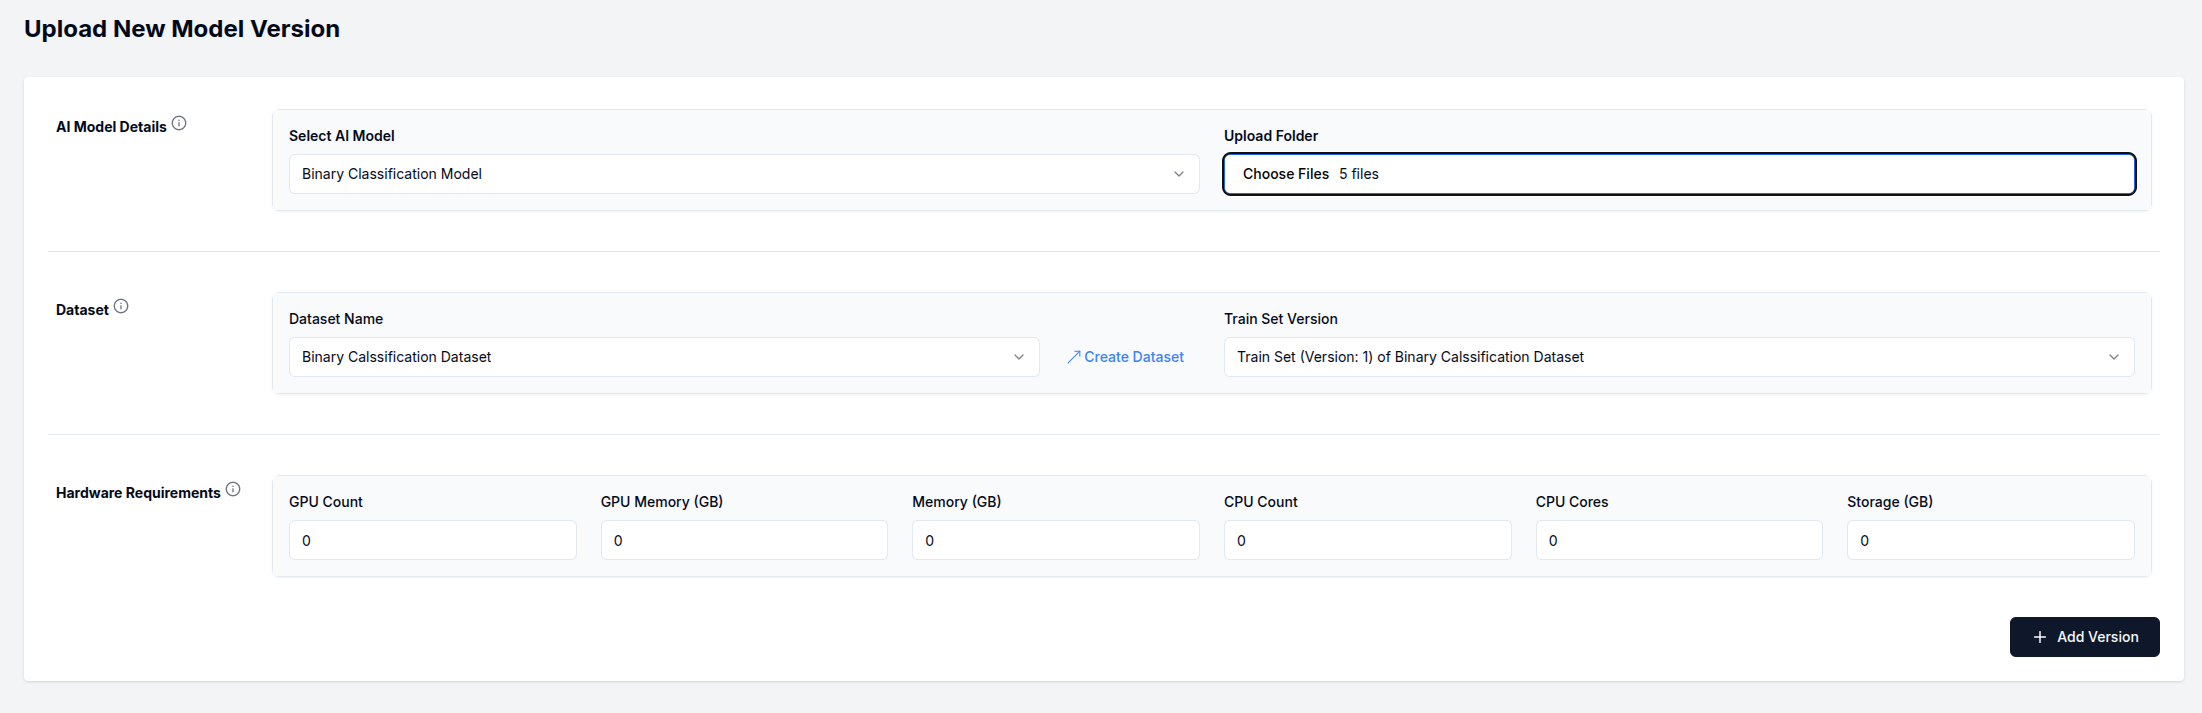
Follow these steps to complete the version creation process:
1. Select AI Model: Choose the parent model that this version will belong to
2. Upload Model Folder: Prepare and upload a folder containing your model implementation
Your uploaded folder must include the following required files:
- MLmodel: The model definition file
- python_env.yaml: Python environment specification
- conda.yaml: Conda environment specification
- requirements.txt: Python package dependencies
3. Select Dataset: Choose the dataset that will be associated with this model version
If you haven't created a dataset yet, you can do so by clicking the
Create Datasetbutton in this section. For detailed instructions on dataset creation, please refer to our Data Asset documentation.
4. Select Dataset Version: Choose the specific version of the dataset that was used to train this model
The selected dataset version will be permanently linked to this model version for provenance tracking and performance evaluation.
5. Hardware Requirements (Optional): Specify any particular hardware needs for this model
If you're unsure about hardware requirements at this stage, you can leave these fields blank and update them later.
Click the Add Version button in the bottom-right corner to finalize the creation process
For each field on this page, informational tooltips are available by hovering over the information icons (ⓘ). These tooltips provide context-specific guidance to help you complete each field correctly.
AI Model Version Detail
Once you have created an AI model version, you will be directed to the AI model version detail page. This page is organized into three tabs that provide different perspectives on your model version:
Important: Upon creation of a model version, a Docker image will automatically begin building. The status of this process can be monitored from the
Docker Actionscard in the top-right corner. Building the Docker image typically takes up to 15 minutes to complete.
Overview
The Overview tab provides comprehensive information about your model version's performance across different evaluation categories and displays key metrics from test runs:
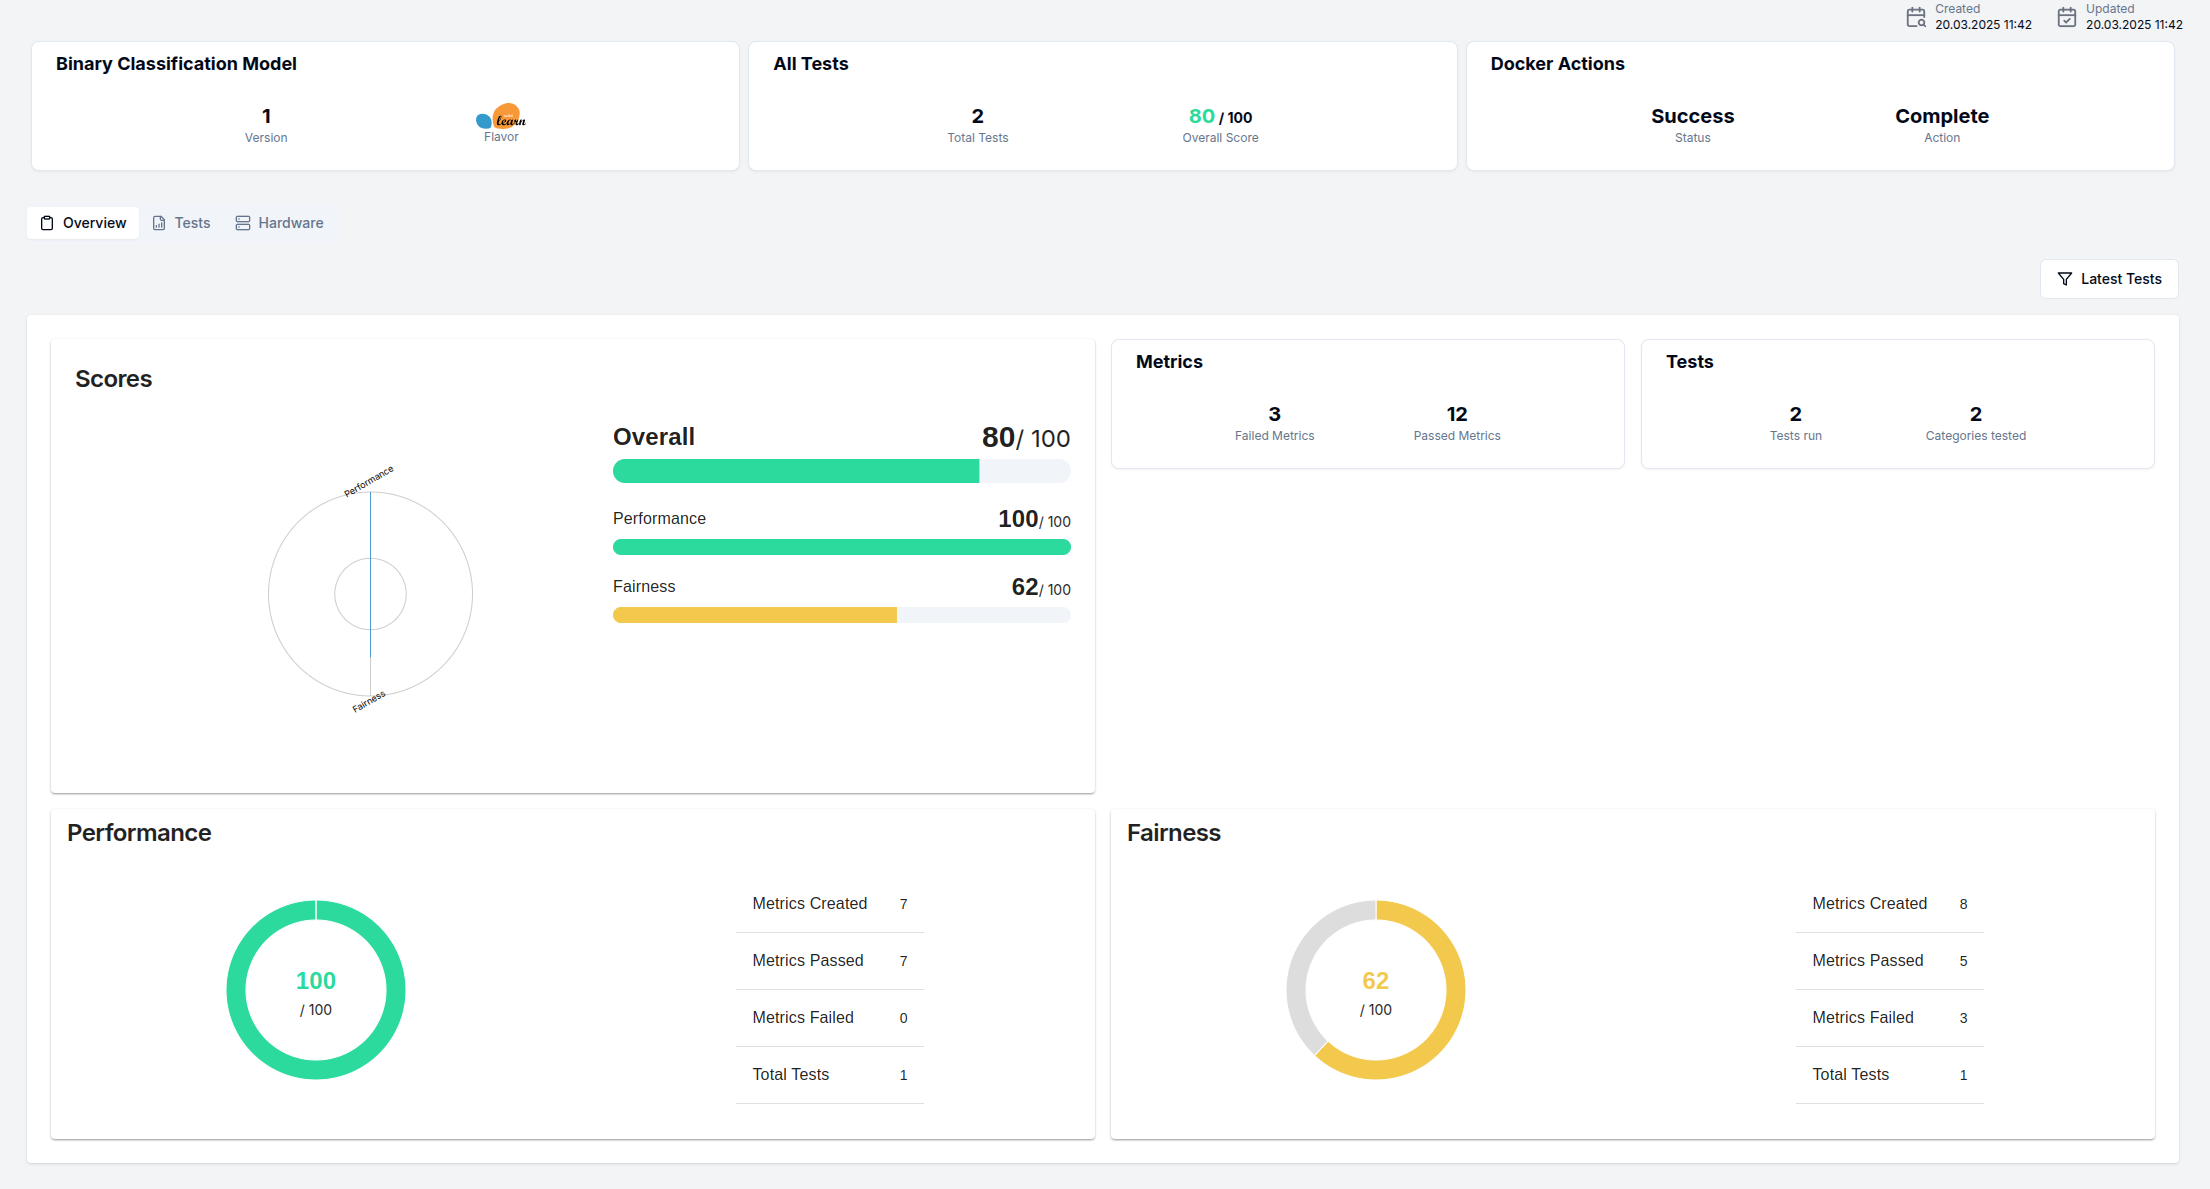
This dashboard includes:
- Performance metrics across different evaluation dimensions
- Visualizations of various statistics
- Comparison between different versions
- Summary of recent test executions
You can use the button at the top right (Latest Tests in the above image) to modify the dashboard according to the latest, overall, or a specific time frame tests.
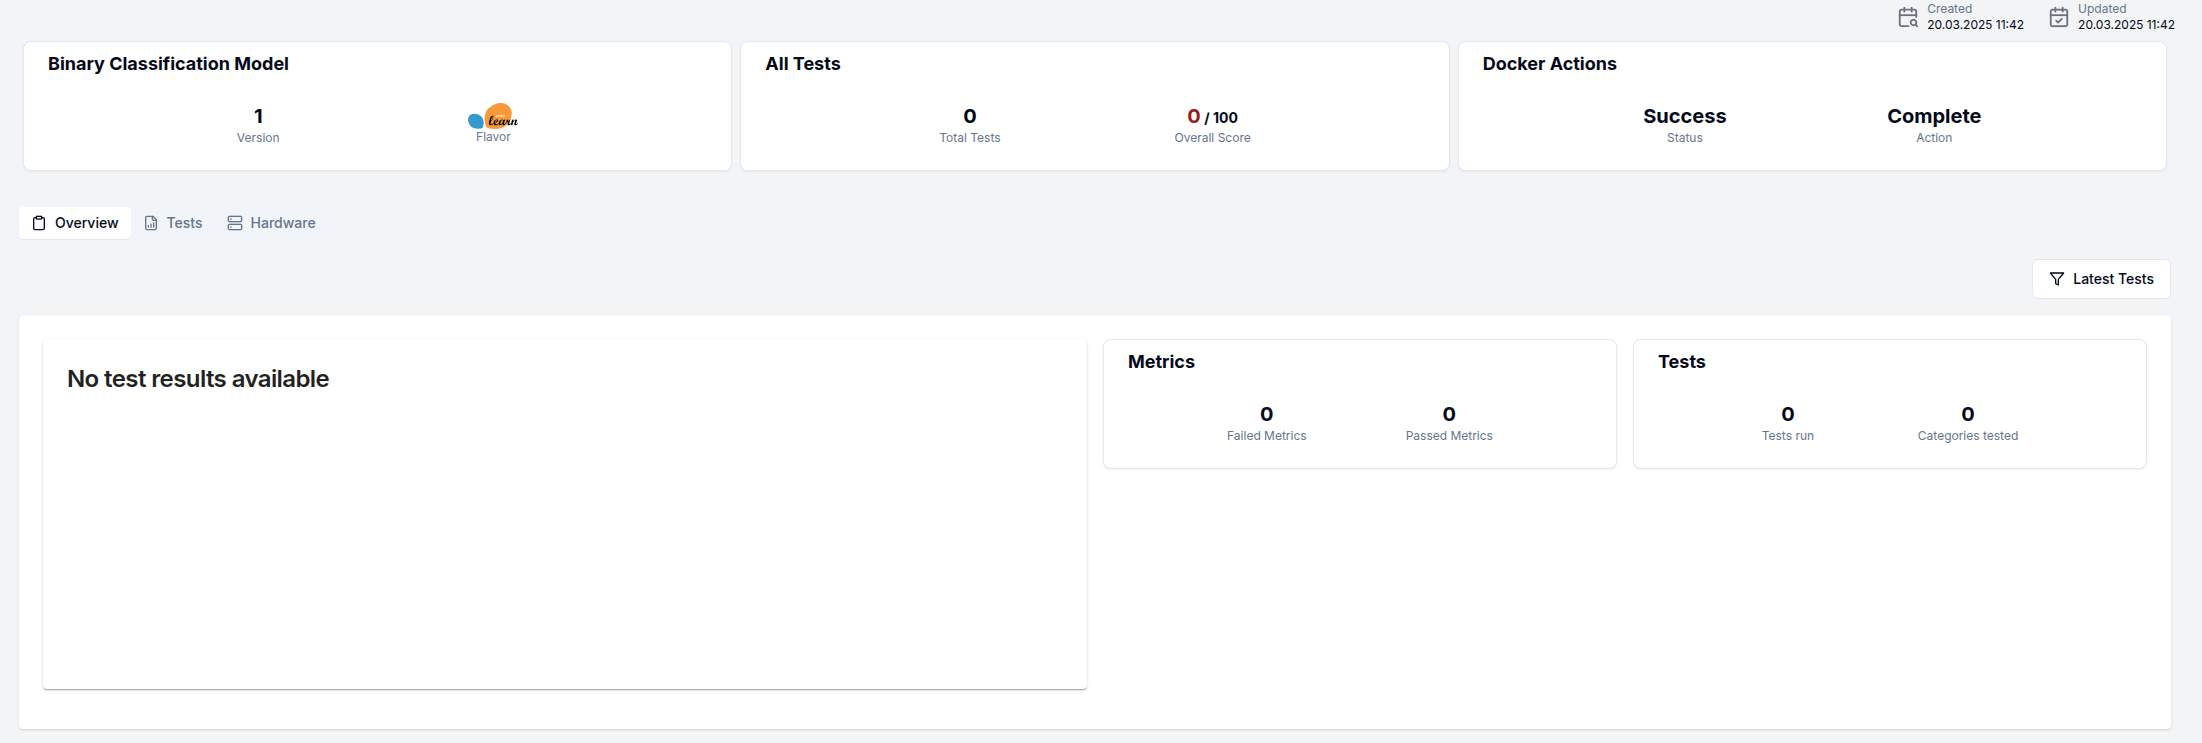
If you've just created the model version and haven't run any tests yet, this page will initially appear empty as shown in the screenshot below.
Tests
This tab displays a tabular view of all test runs associated with this model version.
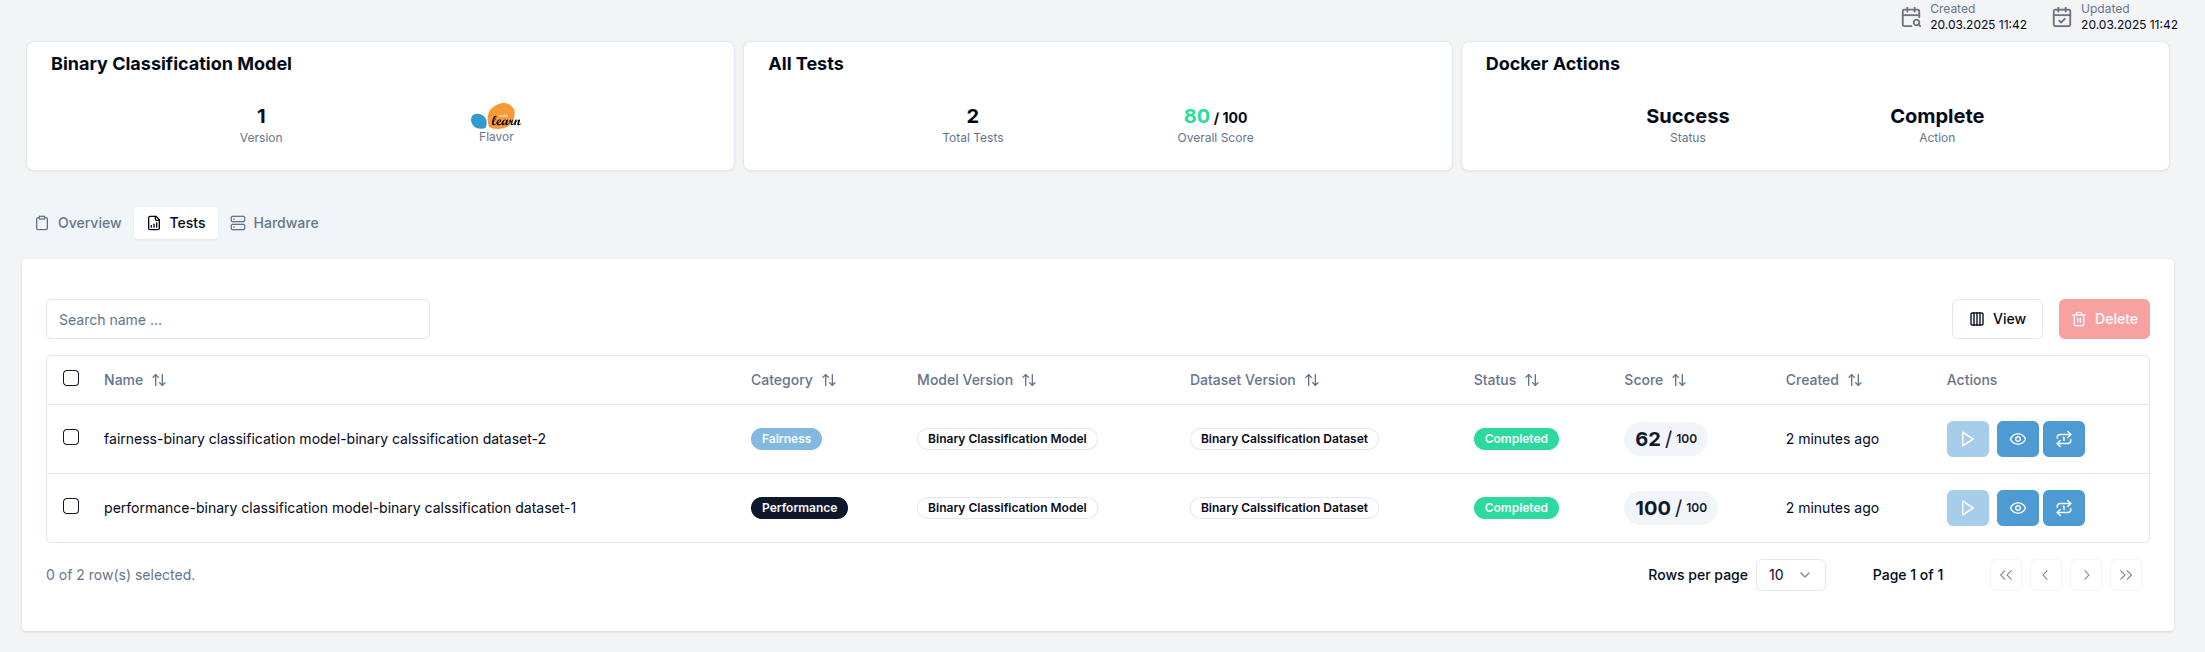
For newly created model versions without any test history, the table will be empty. You can initiate your first test directly from this tab using the controls provided.
Hardware
The Hardware tab allows you to view and modify the computational resources allocated to your model:
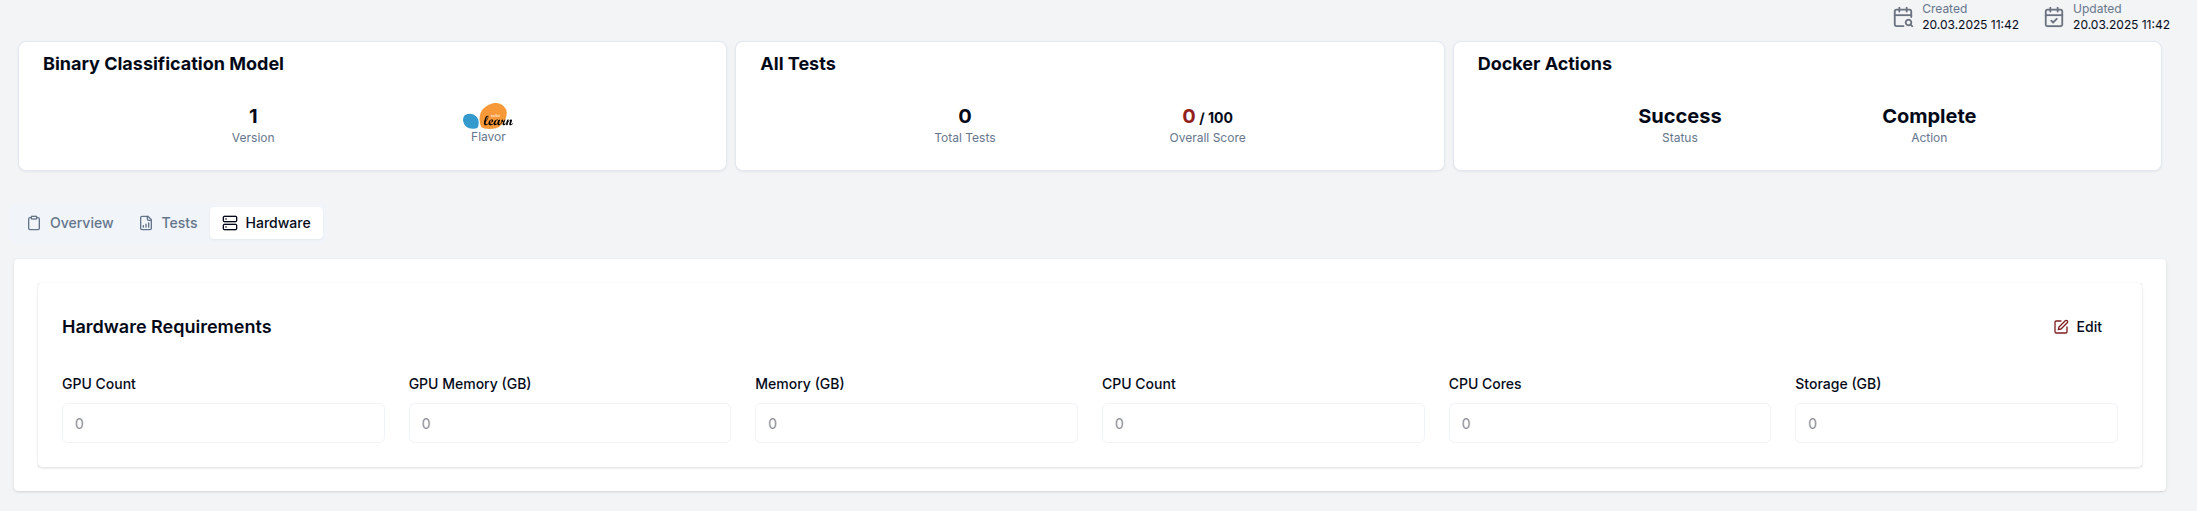
From this tab, you can:
- Review current hardware specifications
- Update resource requirements by clicking the
Editbutton in the top-right corner - Adjust settings such as:
- CPU allocation
- Memory requirements
- GPU specifications
- Specialized hardware needs
- Save your changes to update the model version configuration
Properly configuring hardware requirements is crucial for optimal model performance, especially for resource-intensive models or those with specific acceleration needs.
Next Steps
The final step to complete your model version setup is to create and run your first test! This will validate the model's functionality and establish baseline performance metrics.
For detailed instructions on creating and running tests, please refer to the Tests section in our documentation.